Making A Digital Watercolor Presentation: Sketchup Tutorial (NPR Style)

One of the fastest way and effective solution for design presentation is
rendering your 3-D work(s) through Digital Watercolor style. This particular visualization can
be categorized under Non-photo-realistic rendering (NPR) style, which differs
from Photo realistic rendering. Technically, photo-realistic rendering aims to
reconstruct realism using different render-engine software. In contrast, NPR style
aims to present a more imaginative visualization of the actual scene. Here in
this tutorial, I will present step-by-step procedures on how to make digital watercolor visualization
using Sketchup, Fotosketcher, Photoshop and Picasa.
 |
STEP 1. Open your skp file. Here is the original SketchUp model, view in
perspective mode. As you notice, most areas are left uncolored. This is
primarily because we want to achieve a more balanced watercolor effect. We
don’t want to overpower the Sketchup color materials from the watercolor image
texture when we go to layering procedure in Photoshop.
|
 |
STEP 2. Group your model(s) into two main groups (main scene and entourage).
Here, select the model(s)> press the right click button> select Make
group. This will enable us to hide and unhide the selected groups when
exporting our scene into 2D images.
|
 |
STEP 3. For the main scene, set your SketchUp models to monochrome style
with shadows turned on. Under the edge style option check the edges, profiles,
depth cue and extensions.
|
 |
STEP 4. Export the first group model(s). To do that, go to File>
Export> 2D Graphic and save in JPEG format.
|
 |
Here is the result
|
 |
STEP 5. Hide the selected model (main scene). To do that, select all>
hold shift and click the entourage group> right click on the main model>
select hide.
|
 |
STEP 6. For the entourage, Set-up your SketchUp model with
default styles such as shaded with textures and edges. Disable the shadows.
Export the second group model into 2D image.
|
 |
Here is the result
|
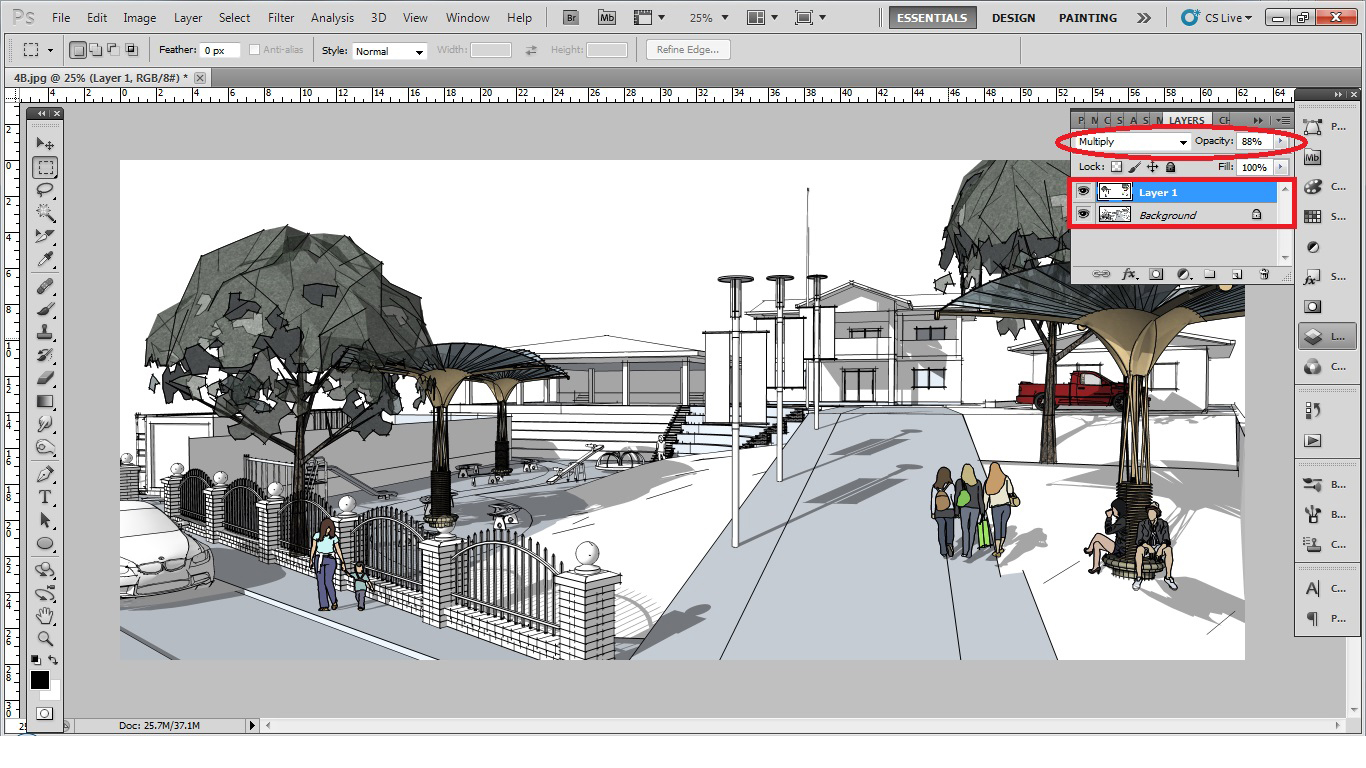 |
STEP 7. Open all the exported images in Photoshop> set the blend mode
to multiply> adjust the opacity with (80-90% value)
|
 |
Groundcover (watercolor)
|
 |
Flowers (watercolor)
|
 |
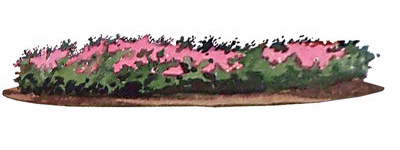
Shrubs (watercolor)
|
 |
Flag
|
 |
Watercolor Textured Paper
|
 |
STEP 8. Layer all the watercolor images in Photoshop except for the textured
paper. Adjust the blend mode to multiply with (70-80% opacity). In order to fit
all the images, select/ transform each layered image by pressing ctrl+T or (go
to edit> transform> choose any of the following transform command. Erase
all the excess colors. Save your work in JPEG format.
|
 |
Here is the result
|
 |
STEP 9. After we have completed layering all the entourage in Photoshop,
were ready to apply the watercolor effects using Fotosketcher. Open your last
image in Fotosketcher and select watercolor style ‘Painting 5’. Save image in
JPEG format.
|
 |
Here is the result
|
 |
STEP 10. Again, using the Photoshop, open the last edited image and the
watercolor texture paper. Set the blend mode to multiply. Adjust the opacity with
70-80% value. Save image in JPEG format.
|
 |
STEP 11. To enhance the image with more authentic watercolor style we
will edit the image using Picasa. Follow the procedure/ settings: Sharpen the
Image> set to Orton mode> set to HDR mode> adjust the shadows and
temperature.
|
 |
Final Render Output
|
Thank you for reading. I hope you can use this technique (NPR style
watercolor rendering) for your future projects and presentation.
this is great! awesome tutorial and thank you for the images.
ReplyDelete