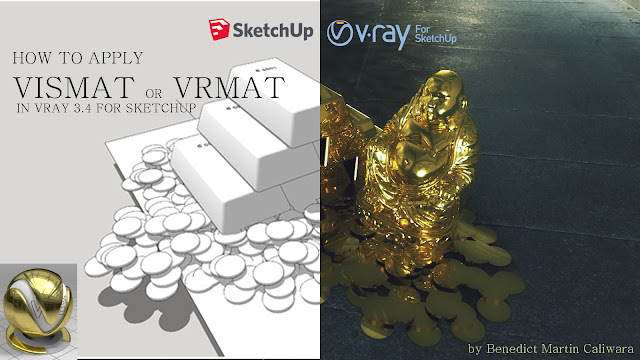
HOW TO APPLY VISMAT OR VRMAT IN VRAY 3.4 FOR SKETCHUP
Applying .vismat (binary) or .vrmat (xml) in 3-D objects is one of the easy way to set your texture(s) in Vray rendering. Here in this tutorial, we will learn how to load both vismat and vrmat in Vray 3.4 with a few simple steps.
STEP 1: Apply any available SketchUp material or color to your model
Using SketchUp, choose any material or color from the 'Material dialogue box'. Apply the material using the paint bucket tool. When done, you can rename the material in order the easily locate the applied material during the rendering process. Here, I used 0046_Gold material from SketchUp material dialogue box.
 |
| STEP 1: Apply any available SketchUp material or color to your model |
STEP 2: Run a test render
Run a test render. Using the material from SketchUp dialogue box, notice the rendered image is not close enough to realistic visualization.
 |
| STEP 2: Run a test render |
STEP 3: Import vismat or vrmat file
Click the ‘Vray Asset Editor’, under ‘Vray material editor’ click ‘import .vrmat file’. Browse to and select the .vismat or .vrmat you want to apply or replace it in your model. When done, click ‘Open’.
 |
| STEP 3: Import vismat or vrmat file |
STEP 4: Vray preview of vismat or vrmat
Click the last loaded .vismat or .vrmat from Vray material list, and as you can see from the material preview, the gold material is realistically presented.
 |
| STEP 4: Vray preview of vismat or vrmat |
STEP 5: ‘Select object in scene’
Under Vray material list, select the SketchUp material> right click> then click ‘Select object in scene’
 |
STEP 5: ‘Select object in scene’
|
STEP 6: ‘Apply material to selection’
Select the loaded .vismat or .vrmat from the Vray material list> right click> then click ‘Apply material to selection’. As you can see from the SketchUp scene, the gold texture from the SketchUp Material dialogue box from the previous steps is now replace with Vray material. Here, the previous material from SketchUp Material dialogue box will disappear from the model and it reverts to the default with dark violet color.
 |
STEP 6: ‘Apply material to selection’
|
STEP 7: Test render
Run a test render. Using the Vray material(s), the rendered image shows a more realistic appearance.
 |
| STEP 7: Test render |
STEP 8: Save
You can modify or change the settings of Vray material(s) such as diffuse, reflection, refraction etc. and save the modified material. To save, click the ‘Save Material to File’ under ‘Vray Asset Editor’> change the file name> then click ‘Save’. Take note, when saving .vismat in Vray 3.4 or higher version, the older format will be replaced by the .vrmat format.
 |
| STEP 8: Save |
 |
| To Download Gold texture (.vrmat): Click Here |
 |
| Gold texture (.vrmat)- Rendered Image (Raw)/ Gold texture (.vrmat)- Rendered Image (Post-production) |
 |
| Gold texture (rendered Scene using HDRI) |
 |
| To Download HDRI: Click Here |
That's it. Quick and simple once you get the hang of it.
Thank you for reading.

Thank you so much for sharing this amazing information.
ReplyDeleteVRay
I definitely love this website.
ReplyDeleteVRay
Please subscribe to my blog. thank you
DeleteOther things have to do with marijuana and how you use it. This includes how much (dose) and how long you take it (frequency). Higher doses and more regular usage seem to lengthen the time it takes for marijuana to leave your system. Marijuana with a higher THC content can also remain in your system for longer. Ingestible marijuana will stay in your system for a little longer than smoking marijuana. Alcohol does not help to “cleanse” the body or fat cells of THC. Visit: https://www.urineworld.com/
ReplyDelete